Anireel User Guide for Windows
Motion Path
The Moth Path effect is designed to move an object from one location to another or multiple destinations on the Canvas.
In the previously version, Anireel only support moving with Line Path- A to B destination. In the released Anireel Version 1.5, we added 12 more Motion Paths including Circle, Down. Arc, Bounce. Square. Decaying, Wave, Curve, Stairs, Write, etc.
More importantly, users can customize the motion path by adding, deleting, and moving of key frame nodes. All the motion path effects can be made on the canvas.
Let's apply motion path animation effects to tell an effective story now.
1. Enter Motion Path Function
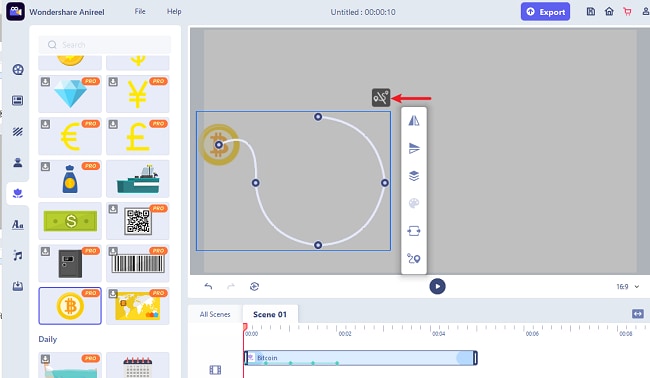
Drag any object to the canvas. Click the shape or character you want to add motion path. On the pop-up menu, click Motion Path as below.

2. Choose the Motion Path
(1) Scroll down to check all the Motion Paths. Hover your cursor on a motion path to see a preview of how the object will move on your canvas.
There are 14 motion paths mode in Anireel for you to choose: Lines, Circle, Down, Arcs, Bounce, Square. Decaying, Wave, Curve, Stairs, Write, etc.
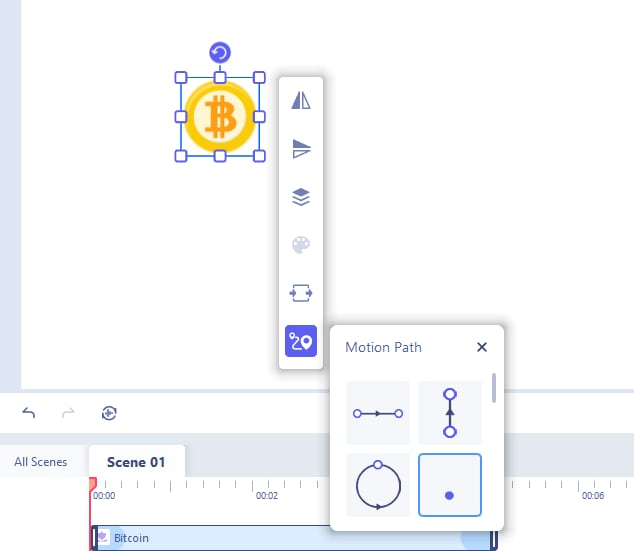
(2) Once you pick the motion path you want, you can click to apply to your animation.
When you play the project, the object moves along the assigned motion path.
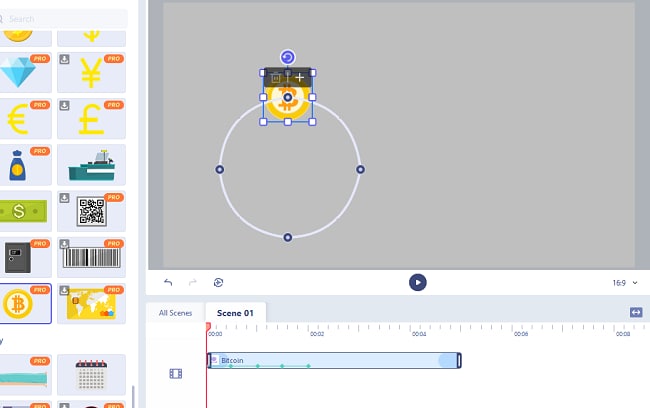
3. Move the Key Frame Nodes
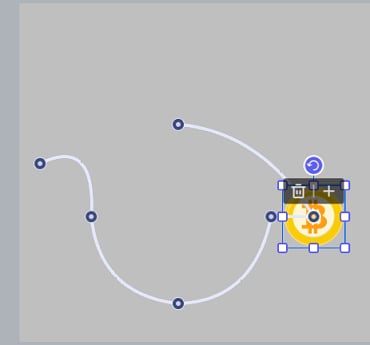
You can change the shape of your motion path by dragging the key frame nodes on the canvas.
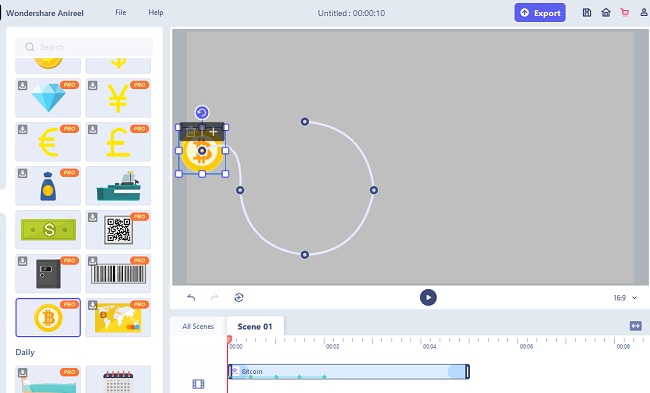
4. Add or Delete Key Frame
By dragging the Key Frame Node, you can change the motion path of the object. You can click the Key Frame node to delete one or add on the path.
You can create a Key Frame node by clicking the Add Key Frame button “+”.
Before Adding:
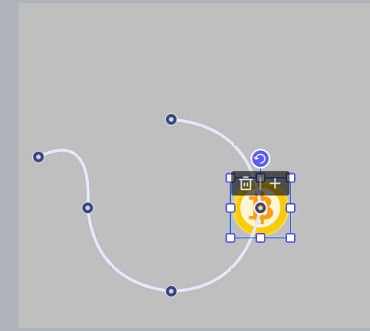
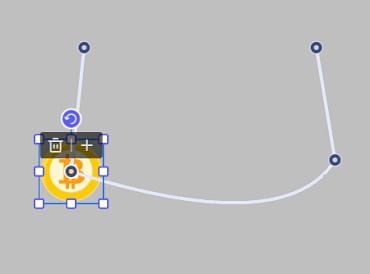
After Adding:
To delete the Key Frame Node, you can click the delete button “-”.
Before Deleting:
After Deleting:
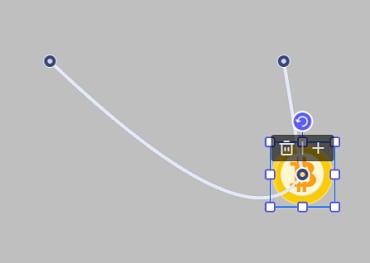
5. Cancel the Movement
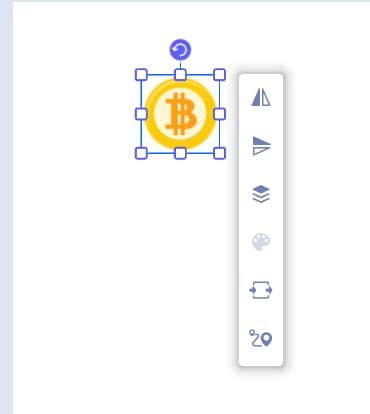
To cancel the movement, select the object and then click Cancel icon ![]() above the object.
above the object.
Before Canceling:
After Canceling:
6. Adjust the Motion Duration
After the motion path setting, the Key Frame Dots will be displayed on the timeline of the object. The distance between the Dots indicates the relative duration of the motion.
You can adjust the duration of the motions by dragging the key frame in the Timeline panel.
If you cannot see the Key Frame that you want to modify in the Timeline, you can click the Key Frame in the motion path to locate it.
